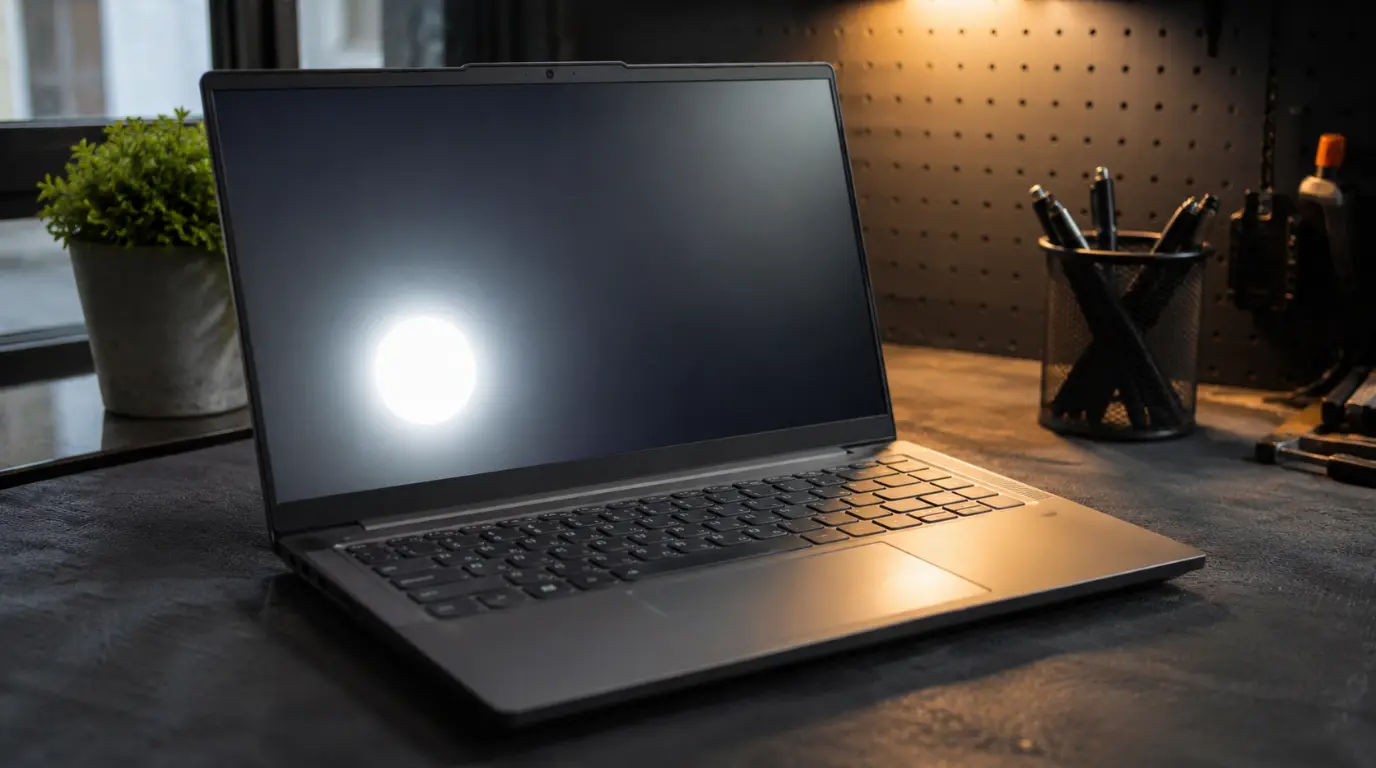
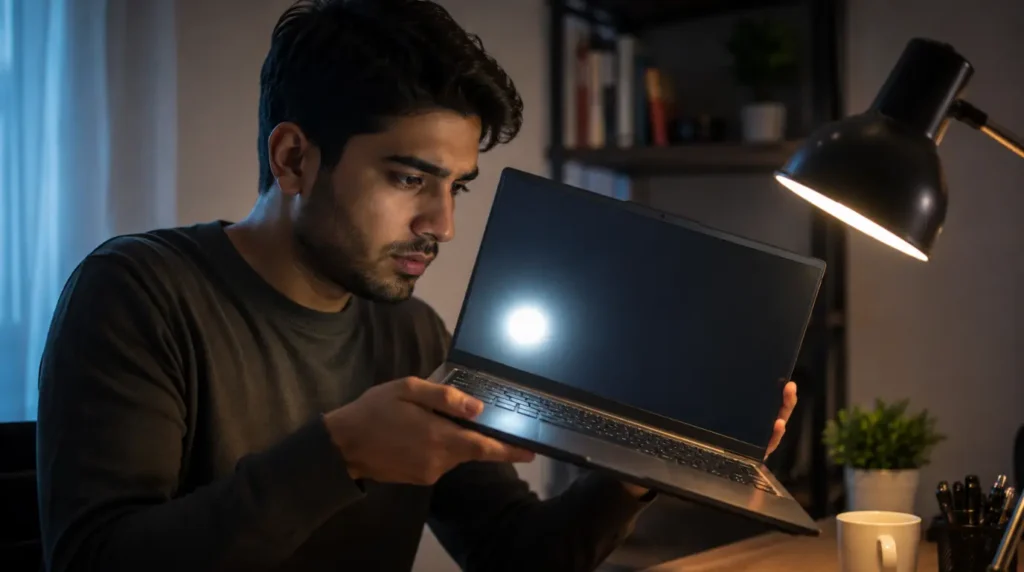
- A white spot on a Lenovo laptop screen is almost always caused by pressure damage to the LCD panel, a stuck or dead pixel, a loose eDP display cable, or a failing backlight LED.
- If the spot appears on the BIOS screen before Windows loads, the cause is entirely hardware drivers and software are ruled out immediately.
- Stuck pixels can sometimes be fixed with a pixel repair tool. Pressure damage, cable faults, and LED failures almost always need a professional repair or panel replacement.
- Lenovo screen replacement costs $50–$90 for IdeaPad panels and $120–$350 for Yoga or Legion OLED panels, depending on your model series.
What That White Spot Is Actually Telling You
A white spot on a Lenovo screen is not a random anomaly. Every type of white spot has a specific physical cause, and the way yours behaves whether it shifts, grows, fades with heat, or changes with brightness tells you exactly which cause you are dealing with before you open a single settings menu.
At screenproblems.com, we have worked through this exact problem across hundreds of Lenovo devices: IdeaPad 3 and 5 units, ThinkPad T and E series, Yoga 7i and 9i, and multiple Legion gaming models. The patterns repeat in predictable ways, and recognizing them early saves both time and unnecessary repair costs.
Why Did a White Spot Appear on My Lenovo Screen?
There are five distinct causes that produce white spots on Lenovo laptop displays. They are not interchangeable; each one looks slightly different, behaves differently, and requires a different response.
1. Pressure Damage to the LCD Panel (Most Common)
This is the cause we see most often on Lenovo IdeaPad and Yoga models. Pressure damage happens when the LCD layers, the liquid crystal layer and the polarizer film sitting directly behind the glass get compressed or twisted.
Common triggers include placing the laptop flat in a bag with books stacked on top, closing the lid with an object on the keyboard such as a pen or earphone, or flexing the chassis during transport. On Lenovo Yoga models, the 360-degree hinge puts cyclic stress on the panel edges during rotation, and pressure spots tend to appear near the corners on those units specifically.
What it looks like: a roughly circular or irregular white patch, anywhere from a few millimetres to several centimetres across. It is equally visible at any brightness level. It does not move, does not change with temperature, and does not respond to driver updates or restarts.
On newer Lenovo IPS panels, pressure damage from a heavy bag can take 24 to 48 hours to fully appear. A user will put the laptop away fine one evening and open it the next morning to find a white patch they cannot explain.
2. Stuck or Dead Pixel
A stuck pixel is a single pixel locked in the ‘on’ state, emitting white or bright color constantly regardless of what the display is showing. A dead pixel is a pixel that fails to respond at all; these typically appear black, not white.
White stuck pixels are easy to identify because they are tiny and perfectly round. They look like a single bright pinpoint rather than a patch. They do not spread, do not grow, and are usually not visible until you place a dark or black image behind them.
Stuck pixels are most common on Lenovo panels that have been in use for two or more years, or on brand-new units where a factory defect slipped through panel inspection. Lenovo’s own pixel policy states that a limited number of subpixel defects per screen area is considered within specification and not covered by standard warranty.
3. Backlight LED Failure or Uneven Backlight Bleed
LCD screens use an array of LEDs along the edges or behind the panel to create backlight. When one of those LEDs fails partially or a diffuser layer shifts position, bright patches appear usually near the edges or corners of the screen.
Backlight bleed produces a diffuse glow rather than a defined spot. It is most visible at low brightness settings and on dark content. At full brightness with white content, it often disappears into the surrounding brightness. This distinguishing behavior of the spot vanishing at high brightness is a strong indicator that backlight LED failure is the cause rather than physical LCD damage.
On Lenovo IdeaPad models with cheaper panel assemblies, backlight bleed can develop after 18–24 months of regular use as the light guide plate shifts slightly inside the chassis.
4. Loose or Fatigued eDP Display Cable
This one surprises most people because it does not look like a hardware problem. The eDP (embedded DisplayPort) cable connects the display panel to the motherboard. On Lenovo IdeaPad 3, IdeaPad 5, and Yoga 7i models, this cable routes through a tight channel in the hinge assembly.
After 12 to 18 months of regular lid opening and closing, the cable can develop micro-fractures or loosen at its connector. The result is an intermittent or permanent signal disruption that shows up as white patches, color bleeding, or a screen that shifts from normal to partially white when the lid is moved to different angles.
The diagnostic clue here is movement-dependency. If the white spot appears or worsens when you tilt the screen forward or backward, the cable is the most likely cause, not the panel itself.
5. Moisture or Humidity Inside the LCD Layers
Liquid can enter the display assembly through the edges of the bezel during a near-miss spill, high-humidity storage, or cleaning solution that seeps between the glass and the frame. This produces a distinctive foggy or cloud-like white area rather than a sharp patch.
Moisture spots sometimes shrink or shift over days as humidity migrates through the panel. In mild cases involving only surface condensation, the spot can reduce on its own after the device is kept in a dry environment for several days. In most cases involving actual liquid contact with the polarizer film, the damage is permanent and the panel requires replacement.
White Spot Cause Summary
| Cause | Appearance | Key Behavior | Fix Required |
| Pressure damage | Patch or irregular blotch | Same at all brightness levels | Screen replacement |
| Stuck pixel | Tiny pinpoint dot | Visible only on dark content | Pixel fixer tool first |
| Backlight LED bleed | Diffuse glow at edges | Fades at high brightness | Panel or LED repair |
| Loose eDP cable | Patch or partial white | Changes when lid is moved | Cable reseat or replace |
| Moisture intrusion | Foggy cloud shape | Shifts or migrates over days | Panel replacement |
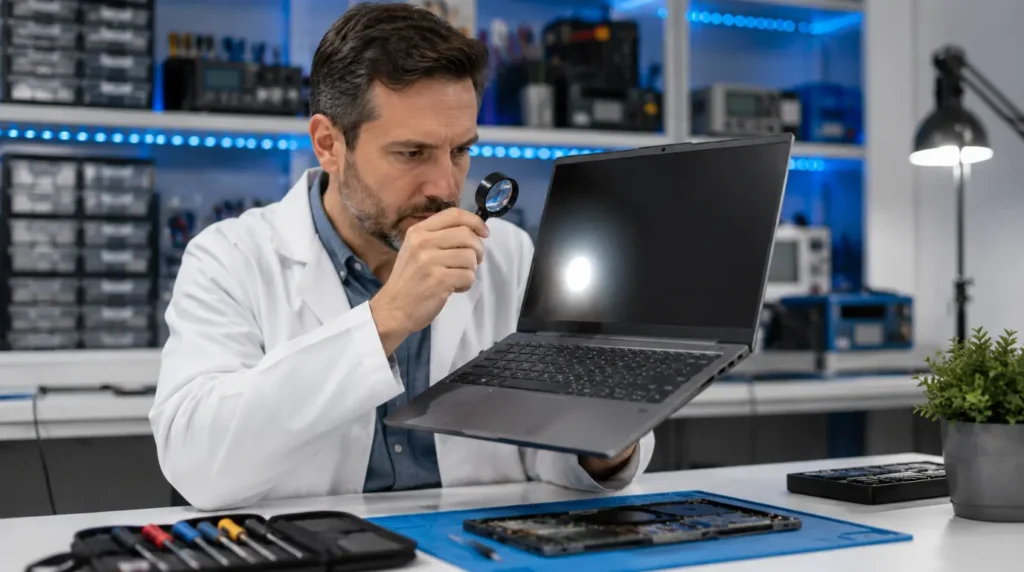
How to Tell What Kind of White Spot You Have
Run these three tests in order. Each one eliminates possible causes within two minutes.
Test 1: The BIOS Screen Test
Restart your Lenovo laptop and watch the screen as it powers on, before the Windows loading screen appears. The Lenovo logo or the BIOS/UEFI splash screen runs entirely on hardware: no drivers, no operating system, no software of any kind is loaded at that point.
If the white spot is visible on the BIOS screen, the cause is 100% hardware. You can stop troubleshooting drivers and software entirely; none of that will help. If the spot is not visible on the BIOS screen, a display driver conflict or software rendering issue is possible, though this is rare.
Test 2: The External Monitor Test
Connect your Lenovo laptop to an external display using HDMI or USB-C. If your external monitor shows a perfect image with no white spot, the GPU and motherboard are confirmed healthy. The fault is isolated to the display panel, its cable, or its backlight assembly.
This test matters because it tells you whether a panel replacement will actually solve the problem or whether there is a deeper GPU-side fault that would persist even after replacing the screen.
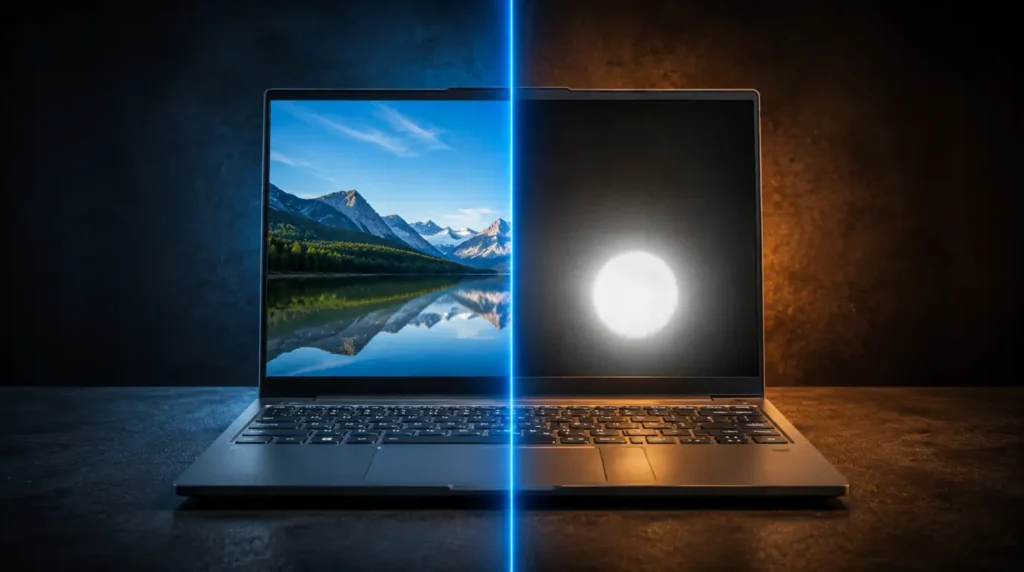
Test 3: The Brightness Threshold Test
Set your screen brightness to 30% and examine the white spot on a pure black background. Then raise the brightness to 100% on a pure white background.
A pressure damage spot remains equally visible at both extremes. A backlight LED fault or backlight bleed will be clearly visible at low brightness on dark content but will wash into the surrounding white at full brightness. This distinction alone narrows the cause to one of two categories without opening the device.
Test 4: The Movement Test
With the laptop open and the spot visible, slowly tilt the screen backward from 90 degrees to 140 degrees. Then bring it forward to 45 degrees. Watch whether the spot changes appearance, shifts, or temporarily disappears at specific angles.
Any movement-related change, even a subtle one, points strongly to a loose or fatigued eDP cable. A static spot that does not change with angle at all is more likely physical panel damage.
After running these tests, you can check your dead pixels using our tool to confirm whether a stuck pixel is involved before attempting any fix.
Can You Fix a White Spot on a Lenovo Laptop Screen Yourself?
Some white spots are fixable at home. Most are not. The type matters more than effort.
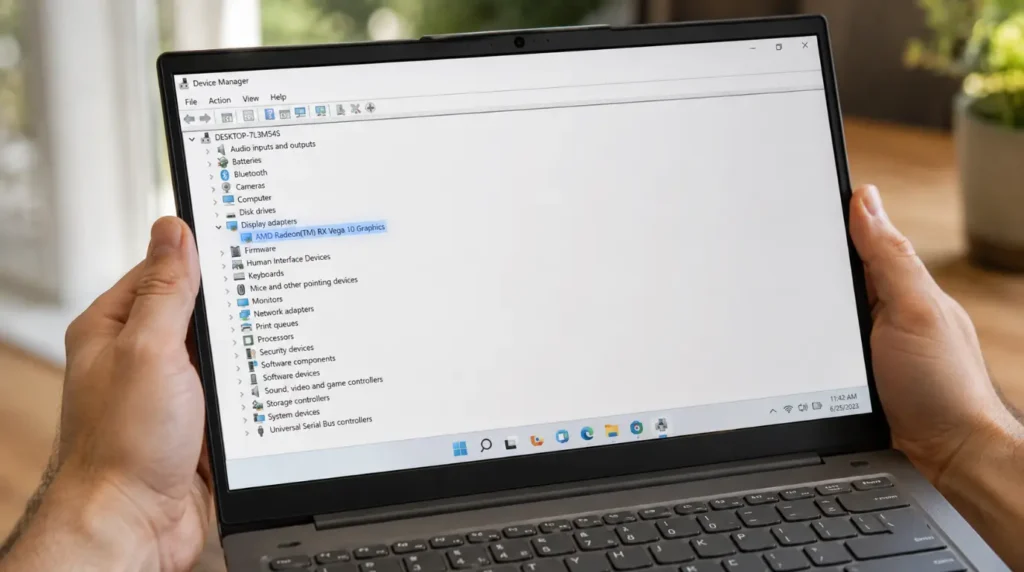
Step 1: Update or Reinstall Your Display Driver
This only applies if the BIOS test showed no spot on the BIOS splash screen. In that narrow case, a display driver conflict can produce color artifacts and bright patches in Windows.
- Open Device Manager by right-clicking the Start button.
- Expand the Display Adapters section.
- Right-click your Intel, NVIDIA, or AMD graphics entry.
- Select Update Driver, then Search Automatically for Drivers.
- Restart the laptop and check whether the spot is gone.
If you prefer a clean reinstall, visit the Intel Driver and Support Assistant (for Intel UHD graphics) or the NVIDIA website directly. Download the correct driver for your Lenovo model number, not just the generic version.
Step 2: Run a Pixel Repair Tool
If your white spot is a small, pinpoint-sized dot and is only visible on dark backgrounds, it is likely a stuck pixel rather than physical panel damage. Pixel repair tools flash rapid color sequences at the affected pixel to force it to reset.
Run the pixel fixer on our site for 15 to 30 minutes with the tool positioned over the white dot. Genuine stuck pixels respond to this treatment in a portion of cases. If your spot is larger than 3 mm in diameter or is visible at all brightness levels, skip this step and it will not work on physical panel damage.
Step 3: Reseat the eDP Display Cable
This step applies only if your white spot changes with screen angle the movement test result from above. It requires opening the laptop’s back panel, which voids warranty on in-warranty units. Only proceed if your device is out of warranty and you are comfortable with basic disassembly.
- Power down completely and remove the battery (or isolate power on models with non-removable batteries by disconnecting the battery connector on the motherboard).
- Remove the back panel screws Lenovo IdeaPad models typically use Phillips PH1 or PH00 screws hidden under rubber plugs near the corners.
- Locate the eDP cable running from the motherboard to the hinge channel. On IdeaPad 3 and 5 models it runs along the left hinge toward the display connector.
- Disconnect the cable from the motherboard-side connector carefully. Wipe the connector contacts gently with a dry cotton swab.
- Reconnect firmly, ensuring the locking tab clicks into place, then reassemble and test.
In our experience, reseating the cable alone resolves the white patch in a meaningful portion of angle-dependent cases. If the spot returns within days, the cable has physical micro-fractures and needs replacing a part that costs $8 to $20 on iFixit or eBay for most IdeaPad models.
When Does a White Spot Require Professional Repair?
Most white spot diagnoses lead to the same conclusion: if the BIOS screen confirms hardware damage and the external monitor confirms the GPU is healthy, professional repair is usually the right move.
Bring it to a repair shop or contact Lenovo support when the spot is larger than 2 centimetres, when it has grown or spread over several days, when it is clearly visible during normal use and cannot be worked around, or when the device is still under warranty.
Lenovo Warranty and What It Actually Covers
Standard Lenovo Premier Support and limited product warranties do not cover white spots caused by accidental pressure, drops, or physical handling. These are classified as accidental or cosmetic damage, which the standard warranty explicitly excludes.
Lenovo’s AccidentalDamage Protection (ADP) add-on plan, available at purchase for IdeaPad, Yoga, and ThinkPad models, does cover screen damage caused by pressure and drops. If you purchased ADP with your device, contact Lenovo support directly and describe the white spot; this is a qualifying damage type under most ADP terms.
For brand-new units less than 30 days old with white spots that appeared without any physical event, the fault is almost certainly a manufacturing defect in the LCD panel. Document the spot clearly with a photograph, contact Lenovo support, and request a replacement under the standard defective product warranty before the return window closes.
How Much Does Lenovo Screen Repair Cost?
| Lenovo Series | DIY Panel Cost | Shop Repair (Parts + Labor) | |
| IdeaPad 3, IdeaPad 5 (15-inch) | $45 – $90 | $120 – $190 | |
| ThinkPad E and T Series | $80 – $140 | $160 – $250 | |
| Yoga 7i (IPS panel) | $120 – $180 | $200 – $300 | |
| Yoga 9i / Yoga OLED | $180 – $300 | $280 – $400 | |
| Legion 5 / Legion 5 Pro | $150 – $250 | $250 – $380 | |
| eDP cable (any IdeaPad model) | $8 – $20 | $60 – $100 |
These figures reflect verified 2025 and 2026 pricing from Newegg, iFixit parts listings, and regional repair shop quotes. Third-party panels from BOE, AUO, and Innolux now match original specifications for brightness and color accuracy on most IdeaPad models but always cross-reference using the original panel’s part number printed on a sticker behind the panel itself, not just the laptop model name.
A model name like IdeaPad 5 15IAL7 can have two or three different panel manufacturers installed across production batches. Buying by model name alone is how most failed DIY repairs happen.
Is Replacing the Screen Actually Worth It?
On most Lenovo laptops that are less than three years old, screen replacement is financially sensible. A $120 to $190 total repair cost on a device worth $500 to $800 passes basic repair economics without much debate.
The calculation changes on older or lower-spec IdeaPad models. A five-year-old Lenovo IdeaPad with a $90 panel replacement may make less sense than buying a current-generation refurbished unit especially if the hinge, battery, or keyboard are also showing wear.
The one scenario where replacement is almost never worth it: a Lenovo G-series or B-series unit more than six years old with a failing panel, degraded battery, and aging processor. The cumulative repair cost almost always exceeds the device’s realistic resale value.
Can a White Spot on a Lenovo Screen Get Worse?
Yes and this is something no competitor article explains clearly enough. The answer depends entirely on the cause.
Pressure damage from a single event is usually stable. The patch you see is typically the final size, and it does not spread unless the screen receives further physical stress.
Moisture intrusion actively migrates through the polarizer film and can spread significantly over days or weeks. If your white area has grown since you first noticed it, moisture is a likely cause and it will not stop on its own.
LCD panel delamination where the polarizer film begins to separate from the glass also spreads progressively. These spots typically start near an edge and move inward. There is no home fix for active delamination. Every week you delay replacement, the usable screen area shrinks.
Backlight LED degradation is gradual but stable; a failing LED does not suddenly cascade. The bleed area may very slowly enlarge over months as adjacent LEDs compensate, but this is rarely dramatic.
Prevention: How to Keep Your Lenovo Screen Clean
The majority of white spot cases on Lenovo laptops are preventable.
- Never place the laptop flat in a bag with books, tablets, or hard objects resting on the lid. The hinge keeps the lid rigid, but book pressure concentrates force on the center of the panel.
- Before closing the lid, visually check the keyboard surface. A single earphone cable, USB key, or pen resting on the keys transfers directly into the screen when closed.
- Use a padded neoprene sleeve rather than a basic zipped pouch. The sleeve distributes load across the chassis rather than the display.
- On Yoga models, avoid rotating the display to tablet mode on surfaces with dust or grit. Microparticles caught between the screen and the desk during flat-mode use cause micro-scratches and edge pressure points.
- If cleaning the screen, use a dry microfiber cloth only slightly damp at most. Never press firmly in one spot while cleaning. Streaking pressure is the second most common cause of white spots we see after bag-compression damage.
- Keep the device away from high-humidity environments. A bathroom desk, kitchen table during cooking, or an unconditioned storage space during summer months creates the conditions for moisture intrusion into the bezel edges.
Common Mistakes People Make With This Problem
- Running pixel repair software on pressure damage. Pixel fixer tools only work on stuck pixels; they have zero effect on physically damaged LCD layers. Many users spend 48 hours cycling a pixel repair tool on a pressure spot that will never respond to it.
- Applying pressure with a microfiber cloth while the screen is on. This technique is sometimes suggested for stuck pixels, but it consistently spreads liquid crystal damage when applied to pressure-induced white patches. If the spot has sharp irregular edges, never press on it.
- Ordering a replacement panel using only the laptop model name. The Lenovo IdeaPad 5 15IAL7, for example, shipped with BOE, AUO, and Innolux panels in different production runs. The correct panel part number is printed on a label on the back of the panel itself, visible only when the bezel is removed.
- Assuming the warranty will cover it without checking the plan type. Standard Lenovo warranty covers manufacturing defects not accidental pressure damage. Only AccidentalDamage Protection (ADP) covers the most common white spot causes.
- Waiting too long on a spreading spot. If the white area has grown by even a few millimetres since you first noticed it, active panel delamination or moisture migration is the likely cause. Waiting will not help, and the repair cost remains the same regardless of how large the spot grows.
Expert Verdict
A white spot on a Lenovo laptop screen is almost never a reason to panic but it does need an honest diagnosis before you spend anything on a fix. The four-test process above (BIOS test, external monitor test, brightness test, movement test) takes under ten minutes and gives you a clear answer about whether this is a software issue, a cable fix, a pixel repair, or a panel replacement.
In the majority of cases we have assessed at screenproblems.com, the cause is physical: pressure from a bag or a closed lid. That means a DIY panel replacement on an IdeaPad will cost under $100 in parts and about an hour of work. On a Yoga OLED or Legion, the cost is higher and professional repair makes more sense. Either way, knowing the exact cause first prevents wasted effort and unnecessary spending.
Frequently Asked Questions

Can a white spot on a Lenovo laptop screen fix itself?
In very rare cases involving surface-level condensation not liquid contact with the polarizer a faint foggy area can reduce over several days in a dry environment. Every other cause, including pressure damage, stuck pixels, LED failure, and delamination, is permanent and will not self-correct.
Why is the white spot only visible on white backgrounds?
A spot that is only visible on light content and disappears on dark backgrounds is almost always backlight bleed or a very early-stage LCD layer separation near the edge. It is not yet severe enough to see against bright content, which already emits at the same brightness level as the bleed. Run the brightness threshold test to confirm.
Is a white spot on a Lenovo laptop covered by warranty?
Standard Lenovo warranty covers the spot if it appeared without any physical event on a unit less than 30 days old this indicates a manufacturing panel defect. Pressure-caused spots, moisture damage, and spots that appeared after a drop or bag incident are only covered under Lenovo AccidentalDamage Protection (ADP), which must have been purchased at the time of the original order.
Can I use a Lenovo laptop normally with a white spot?
For a small static spot in a non-critical area, daily use is possible depending on your tolerance. A spot that covers part of the text or content you need to read is not workable long-term. A spot that is actively spreading should not wait, replacement cost does not increase with spot size, but the usable screen area does decrease.
Will the white spot show up in screenshots?
No. A screenshot captures the GPU output signal, not the physical display. If a white spot appears in your screenshot, you have a GPU rendering issue or a software overlay problem rather than a physical screen fault. This is a useful distinction: it means the physical display is fine and the cause is entirely in software.
How long does a Lenovo screen replacement take?
A local repair shop typically completes a Lenovo IdeaPad screen replacement in one to two business days, primarily because parts need to be ordered or sourced locally. If the shop stocks your panel model, same-day turnaround is possible. DIY replacement on an IdeaPad 3 or IdeaPad 5 takes 30 to 60 minutes for someone comfortable with basic laptop disassembly.
Author Note
Ben is the founder of screenproblems.com and has personally diagnosed and repaired display faults across more than a decade of hands-on work with laptops, smartphones, and desktop monitors. Screenproblems.com publishes independently tested repair guides for a global audience of readers facing real display hardware problems. This article was reviewed in 2026 with current Lenovo panel pricing and eDP cable failure patterns confirmed across multiple IdeaPad, ThinkPad, Yoga, and Legion model repairs.