
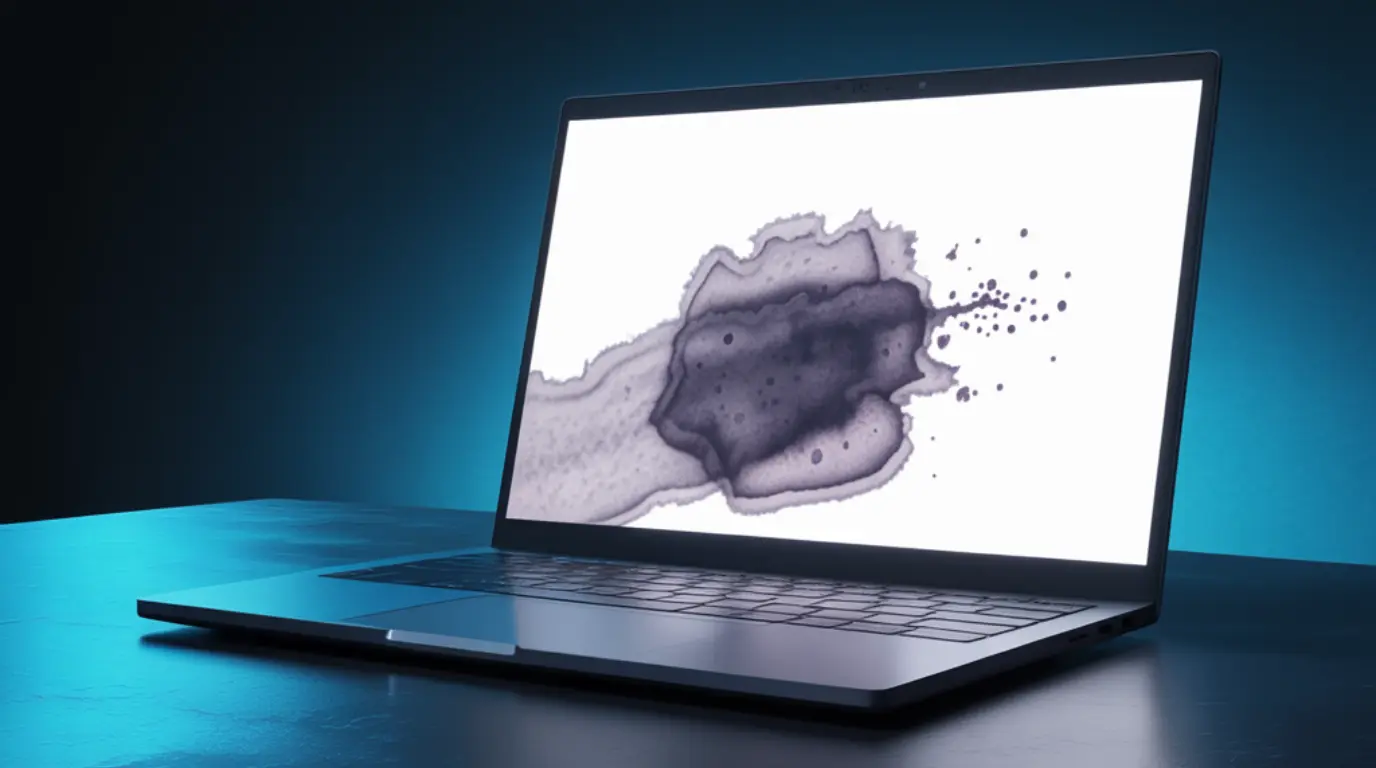
Laptop screen pressure marks are dark blobs, colour blotches, or cloudy patches caused by physical force on the LCD panel that displaces the liquid crystals inside. They form when an object presses against the display, either trapped under the lid or through external compression during transport. Many marks are permanent, but marks caught within the first 24 to 48 hours sometimes respond to a pixel cycling tool or a gentle warm compress applied to the damaged area.
You closed your laptop last night and this morning there is an ugly dark patch spreading across the display like spilled ink. It was not there before, you did not drop it, and now you are staring at a mark you cannot explain. Laptop screen pressure marks are one of the most frustrating display problems precisely because they appear without warning, but knowing exactly what caused yours tells you whether you have a fixable situation or a screen replacement on your hands.
What Causes Laptop Screen Pressure Marks
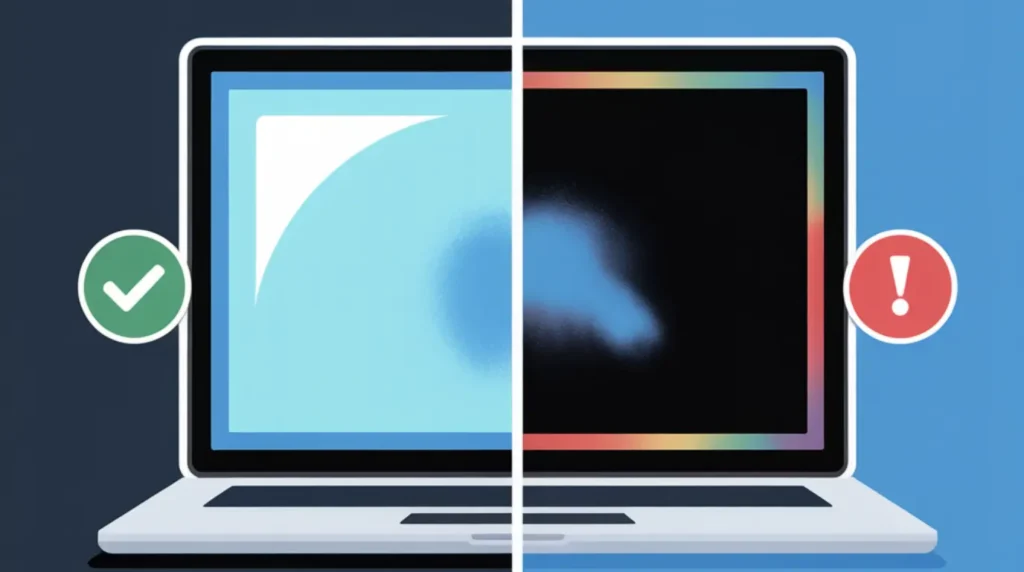
The LCD panel inside your laptop is made of a thin layer of liquid crystals sandwiched between two sheets of polarising glass. That layer is fragile enough that even moderate localized pressure can permanently displace those crystals, creating the blotchy screen discoloration you are seeing right now. Understanding the specific cause matters because each one leaves a slightly different mark and points you toward a different solution.
Objects Trapped Under a Closed Lid
A pen, earphone cable, crumb, or small object left on the keyboard before closing the lid is the single most common cause of laptop screen pressure marks. When you shut the laptop, that object presses directly into the fragile LCD panel from behind, and the resulting crystal displacement shows up as a dark or rainbow-tinted blotch. The telltale sign is a pressure mark whose shape matches exactly the object that was trapped underneath.
Overstuffed Laptop Bag Compression
Carrying your laptop in a tightly packed bag compresses the lid against the bag contents from both sides, and over days or weeks this steady pressure causes screen discoloration that creeps in from the corners or edges. Many users do not link this to bag damage because it builds gradually rather than appearing after a single event. If your mark sits near a corner with no obvious single impact point, bag compression during transport is almost certainly the cause.
Direct Finger or Hand Pressure on the Screen
Poking the screen forcefully, cleaning too aggressively with a firm cloth, or resting a hand on a closed lid all push directly into the sensitive LCD pixel damage zone. Even gentle repeated pressure in the same spot over weeks can displace liquid crystals enough to create a visible mark. Users who carry their closed laptop under an arm with fingers gripping the lid frequently develop small pressure spots near the display edges without ever realising the cause.
Rough Handling or Chassis Flex During Transport
Dropping a packed bag, stacking heavy items on top of a closed laptop, or flexing the display when opening it from a corner rather than the centre all create sudden pressure events. Modern ultrabooks with slim panels are especially vulnerable because their thin chassis provides almost no structural protection against flex. The resulting screen blob often appears within a few hours of the rough handling event, which is usually the first useful clue.
Manufacturing Defects or Panel Seal Failure
Some laptop screens develop pressure-like marks from factory defects in the IPS or TN panel layer, or from a failing display backlight seal that lets internal pressure build unevenly. These appear without any obvious physical cause and sometimes worsen gradually over weeks with no further impact. If your mark appeared with no physical event you can confidently recall, a manufacturing defect may be the cause and a warranty claim is worth pursuing before spending anything on repair.
OLED Screen Pressure Damage Is Different
OLED pressure damage looks like a small black ink spot that spreads
outward over hours or days. Pressure breaks the panel’s protective seal,
letting air reach the organic pixels underneath, and those pixels die
permanently once exposed. No home fix works on this kind of damage, so
stop touching the screen and book a professional replacement right away.
MacBook and Thin Laptop Keyboard Imprint Marks
Keyboard keys pressing into the closed screen cause a specific pressure
mark shaped like the keyboard itself, most often on thin ultrabooks and
older MacBooks. This pattern is strong evidence of a design flaw rather
than user damage, so photograph the mark next to your closed keyboard
before contacting Apple, Dell, or Lenovo support for a warranty review.
How to Diagnose Laptop Screen Damage at Home

You can confidently identify what type of damage you are dealing with before spending a single cent. These steps take less than ten minutes and tell you exactly what your options are.
- Open a solid white image on your display and fill the entire screen. White backgrounds make pressure marks, colour shifts, and cloudy areas fully visible in a way that normal desktop backgrounds completely hide them. If you also notice screen flickering alongside the blotch, our Acer laptop screen flickering fix guide will help you confirm whether you are dealing with a separate display cable issue alongside the pressure damage.
- Check the edges of the mark closely for any coloured streaks or lines running across the panel alongside the blotch if you spot those, our guide to fixing red lines on PC screens covers that as a separate damage type. For a pure pressure mark, the blotch shows only soft-edged irregular shapes with no running lines or sharp isolated dot centres.
- Apply very gentle fingertip pressure around the outer edge of the mark, not on it directly. If the blotch shifts, ripples, or changes colour under the lightest touch, the liquid crystal layer is still mobile and a fix attempt may be worthwhile.
- Take a clear photo of the mark shape and compare it with any objects that might have been trapped under your lid, such as a pen cap, cable, or earphone. A shape match is almost certain confirmation of the cause.
- Power the laptop completely off, let it rest for 15 minutes, then power it back on and view the screen on a solid white background again. Temporary heat-related LCD pressure spot issues occasionally reduce after the panel cools down, which tells you the situation may not be permanent.
How to Fix Laptop Screen Pressure Marks
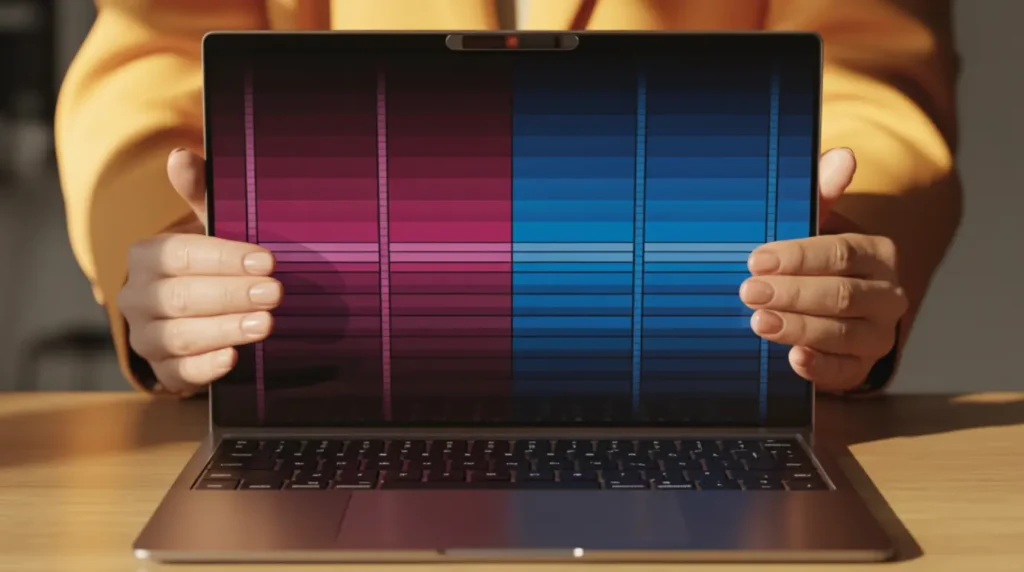
Work through these fixes in order, starting with the free options before considering anything that costs money. Not every mark can be fully removed, but every mark deserves a free fix attempt before you book a repair.
Use a Stuck Pixel Fixer Tool Free
- Run a full-screen colour cycling test on your display this method works for most LCD laptops, and if you are diagnosing a MacBook with purple discoloration alongside the mark, our Mac screen purple lines guide covers that specific pattern with its own set of fixes. For standard Windows laptops, set the cycling test to run through red, green, blue, white, and black for 30 to 60 minutes without touching the screen.
- Set the tool to cycle rapidly through red, green, blue, white, and black for 30 to 60 minutes.
- Do not touch or press the screen during the full cycle.
- After the session ends, view a solid white background and check whether the blotch has reduced in size or intensity.
This method works best when the LCD pressure spot is caught within the first 24 to 48 hours before crystal displacement sets permanently. Even a partial reduction after one session is a strong sign worth another round.
Gentle Warm Compress Method Free
- Power the laptop completely off and unplug the charger before starting.
- Wrap a soft microfiber cloth around a gently warm object such as a warm water bottle or a folded towel that has been briefly warmed. It must feel warm but never hot to the back of your hand.
- Apply gentle, even pressure to the marked area for 45 to 60 seconds, covering the full extent of the blotch without pressing hard.
- Power the laptop back on immediately and check the white screen for any reduction.
- Repeat up to three times with at least a 10-minute gap between attempts to avoid overheating the panel.
A small suction cup, the kind used for phone screen removal, offers a
gentler alternative to finger pressure. Attach it to the center of the
mark after warming and pull very lightly outward for 30 to 60 seconds,
since this relieves compression instead of adding more inward force
Adjust Display Settings to Minimise Visibility Free
- Open your display settings and reduce screen brightness to the lowest comfortable working level to reduce contrast between the mark and surrounding pixels.
- Enable a night mode or warm colour filter to shift the overall palette away from the white tones that make pressure marks most visible.
- Download a display calibration profile specific to your laptop panel model from your manufacturer’s support page and apply it to reduce the visual harshness of the damaged area.
These steps will not remove the underlying display damage but they make the mark significantly less visible during everyday use, and reducing heat stress on the damaged zone slows any gradual spreading.
Professional Screen Replacement Paid ($80 to $600)
- Find your laptop model number from the underside label or in your system settings before contacting any repair shop.
- Search your model number plus screen replacement to confirm the compatible panel type and set a realistic cost expectation before getting any quotes.
- Get quotes from at least two certified repair shops and ask each one specifically whether they are fitting an OEM replacement panel or a third-party equivalent.
- Confirm what warranty coverage the repair shop provides on both the replacement panel and their labour before committing to the job.
Screen replacement typically costs $80 to $300 for standard laptops
and $400 to $600 for premium thin-and-light or OLED models. MacBook Pro
models with a Liquid Retina XDR display often cost $700 to $900 or more
without AppleCare+, so always confirm your coverage before paying out of
pocket.
When to See a Professional

If your pressure mark is larger than a coin, spreading visibly over days, or covering any part of the screen you actively use for reading or work, professional assessment is no longer optional. A spreading mark indicates ongoing liquid crystal migration that no home method can reverse, and leaving it will eventually consume a large portion of your display. At that stage, acting quickly means the difference between a screen repair and a full panel replacement.
Check your warranty status before booking any repair, since some
plans cover accidental damage and factory display defects. If your mark
matches the shape of your keyboard keys, photograph it next to the
closed keyboard and send it to the manufacturer as design-flaw evidence.
Contact your manufacturer support line directly, describe the pressure mark situation clearly, and specifically mention that the mark appeared without an obvious physical impact event if that is true for your case. Pushing for a warranty claim on manufacturing defect grounds before paying out of pocket is always worth the phone call.
If your laptop is less than twelve months old and the mark appeared gradually with no event you can point to, a defective panel is a legitimate claim in most regions. Document the mark with timestamped photos before anything else so you have clear evidence when contacting the manufacturer or your retailer.
How to Prevent Laptop Screen Pressure Marks
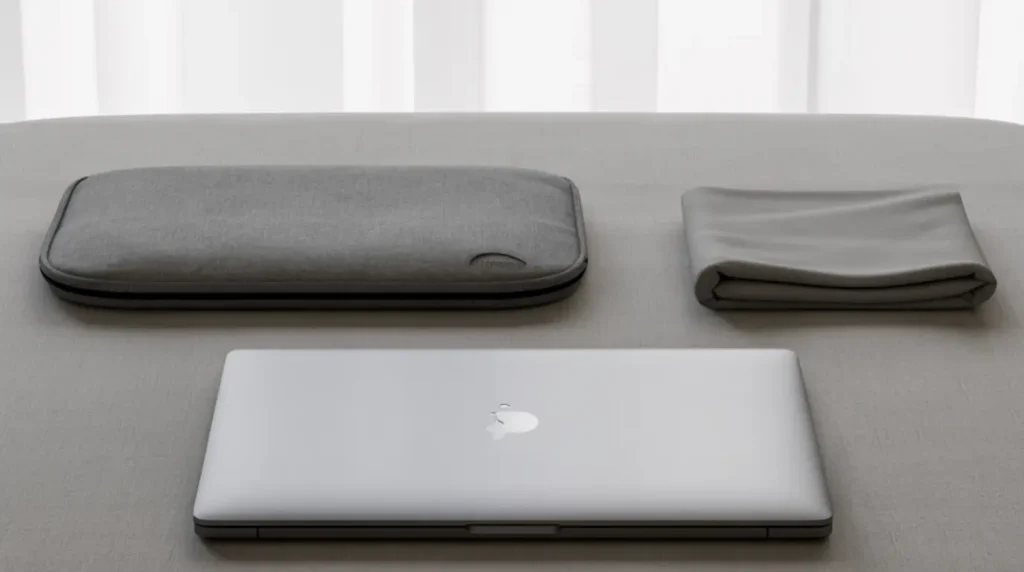
- Always check your keyboard for pens, earbuds, cables, or crumbs before closing the lid this single habit prevents the most common cause of pressure marks entirely.
- Place a microfiber cloth flat over the keyboard before closing the laptop if you carry it frequently, creating a soft barrier that prevents any small debris from pressing into the screen.
- Carry your laptop in a bag with a dedicated padded compartment that does not allow the lid to be compressed by surrounding items during daily travel.
- Never stack books, bags, or any other objects on top of a closed laptop even temporarily, as even moderate static weight creates cumulative LCD pixel damage over time.
- Always open your laptop from the centre of the top edge rather than from a corner, which prevents chassis flex from transmitting stress into the display panel.
- Avoid gripping the lid surface directly when carrying a closed laptop and use a sleeve or case handle instead to keep your fingers off the panel area entirely.
Frequently Asked Questions

Will laptop screen pressure marks go away on their own?
In most cases, pressure marks do not go away without active intervention because the liquid crystal displacement is a physical change that does not self-correct. Very fresh marks caught within the first few hours sometimes reduce with warm compress treatment or pixel cycling tools. If the mark has been visible for more than 48 hours with no change, it is unlikely to resolve without applying one of the fix methods covered above.
Is a pressure mark the same as a cracked screen?
No, they are two different types of damage with different appearances and repair options. A cracked screen has clearly visible fracture lines in the glass or panel layer, while a pressure mark shows as a soft-edged blotch, colour distortion, or dark spreading patch with no visible cracks in the glass. Severe force can cause both simultaneously, and an internal crack sometimes generates adjacent pressure-style discoloration that spreads outward from the fracture point.
Can I still use my laptop with a pressure mark on the screen?
Yes, a stable pressure mark does not stop the rest of the display from functioning normally, and many users work with small stable marks for months without issue. The key question is whether your mark is stable or actively spreading, since a growing mark will eventually cover important areas of your workflow. Monitor it daily for the first week and if it is not getting larger, it can be tolerated while you plan your next step.
How much does laptop screen pressure mark repair cost?
Professional replacement ranges from $80 to $300 for standard
laptops and $400 to $600 for premium OLED models. MacBook Pro Liquid
Retina XDR screens can cost $700 to $900 or more without AppleCare+.
Always compare at least two repair quotes, ask about panel quality and warranty coverage, and check whether your existing plan covers accidental display damage before paying anything.
What does OLED pressure damage look like?
OLED pressure damage looks like a small black spot that spreads outward
over several days rather than a soft cloudy blotch. It cannot be fixed
at home, so book a professional assessment as soon as you notice it.
Is a laptop screen pressure mark covered under warranty?
Most manufacturers treat pressure marks as accidental damage, which
standard warranties exclude. A mark shaped like your keyboard keys is
evidence of a design flaw, so photograph it and contact support directly.
Editor Note screenproblems.com
- Reviewed for technical accuracy by the screenproblems.com editorial team.
- All fixes verified against current device software and firmware versions.
- Pricing reflects current market rates and may vary by region.
- This article will be updated whenever new fixes are confirmed.
- For unresolved issues visit the Contact Us page with your device details.
About the Author Ben, Founder of screenproblems.com
- Ben has 10 years diagnosing display hardware and software issues.
- All content is written from direct technical experience, not sourced from other websites.
- Ben always prioritises free fixes before recommending any paid repair.